The final result may be polished and gleaming, but the journey from raw metal to finished heirloom is far from tidy.
Behind every ring, pendant, or repaired clasp is a space filled with fire, grit, and intention. It’s part workshop, part laboratory, part studio. And every tool—from the oldest hammer to the newest design software—plays a role.
Whether I’m sketching on paper, soldering a tiny seam, or reviewing a 3D print for casting, I’m standing at the intersection of centuries of tradition and modern design. This is what it really looks like to make a piece of custom jewelry today.
1. At the Bench: The Foundation of Jewelry Craft
A Note About the Bench Itself
My workbench is a hand-me-down watchmaker’s bench, which means it’s a little different than a traditional jeweler’s setup. Most jeweler’s benches have a curved cutout in front so you can rest your arms more comfortably while working. Since mine doesn’t, I added pivoting armrests that adjust up and down to support my hands as I work. It’s not fancy, but it gets the job done—and it’s one of those small adaptations that makes a big difference during long sessions at the bench.
Clutter is a constant companion on any jeweler’s bench. We work with a wide array of tools, and most of them need to stay within arm’s reach. The result? Organized chaos—functional, lived-in, and often covered in a fine layer of metal dust.
The only truly clean space is my catch tray. I replaced the wood just a couple of months ago and have been keeping it covered ever since. No doubt it will eventually collect its own share of scorch marks, gold shavings, and the occasional accidental drill hole (usually from setting down a still-spinning Flexshaft). But for now, it’s pristine—and it made a great backdrop for the photos in this post.

The Bench Pin
The bench pin might be the most humble hero of the workshop. It’s a small wedge of wood mounted to my workbench—and I use it for nearly everything. Mine has been personalized to my own workflow, and I've installed divots and holes and little indentations to prevent tiny pieces from rolling away. Filing, sawing, shaping—it all happens here. My bench itself is scarred and scratched from years of use, and that’s how I like it. It’s a creative zone that carries the history of every piece I’ve ever made.

Hand Tools That Still Reign
Saw Frames: Used for cutting through metal sheet or wire, often with blades fine enough to snap if you breathe wrong. Many jewelers prefer a German frame, but I like this one by Green Lion.

Files & Sandpaper: Shaping and refining metal is a process of gradual, deliberate abrasion—like coaxing the form into existence. This is only a small selection of the many, many files I use.

Pliers: Round-nose, flat-nose, chain-nose—each pair of pliers is designed for a specific kind of bend, twist, or fine adjustment. They tend to multiply on a jeweler’s bench, and every jeweler has their favorites. Borrow one without returning it, and you’ll learn just how personal those preferences really are.

Hammers: From delicate chasing to heavy forging, each hammer is designed to do something different: spread metal, harden it, or add texture. Over time, you learn their balance and feel—each one becomes an extension of your hand. In a workshop, hammers also carry a bit of symbolic weight. The more you have, or the larger, the more powerful you are seen to be amongst your jeweler bretheren.

Gravers & Engraving Tools: Used for cutting fine lines, patterns, or textures into the metal. Slow, quiet, meditative work.

Soldering Station, Torch & Flux
Soldering is one of the most crucial techniques at the bench. With torch in hand and flux applied, I heat metal until it fuses—joining components without melting the entire piece. It’s part alchemy, part precision science. And it never stops feeling magical. The little bowl holding the molten metal in this photo is called a crucible, and it enables you to pick up your liquid metal and pour it into a waiting mold so it can be forged.

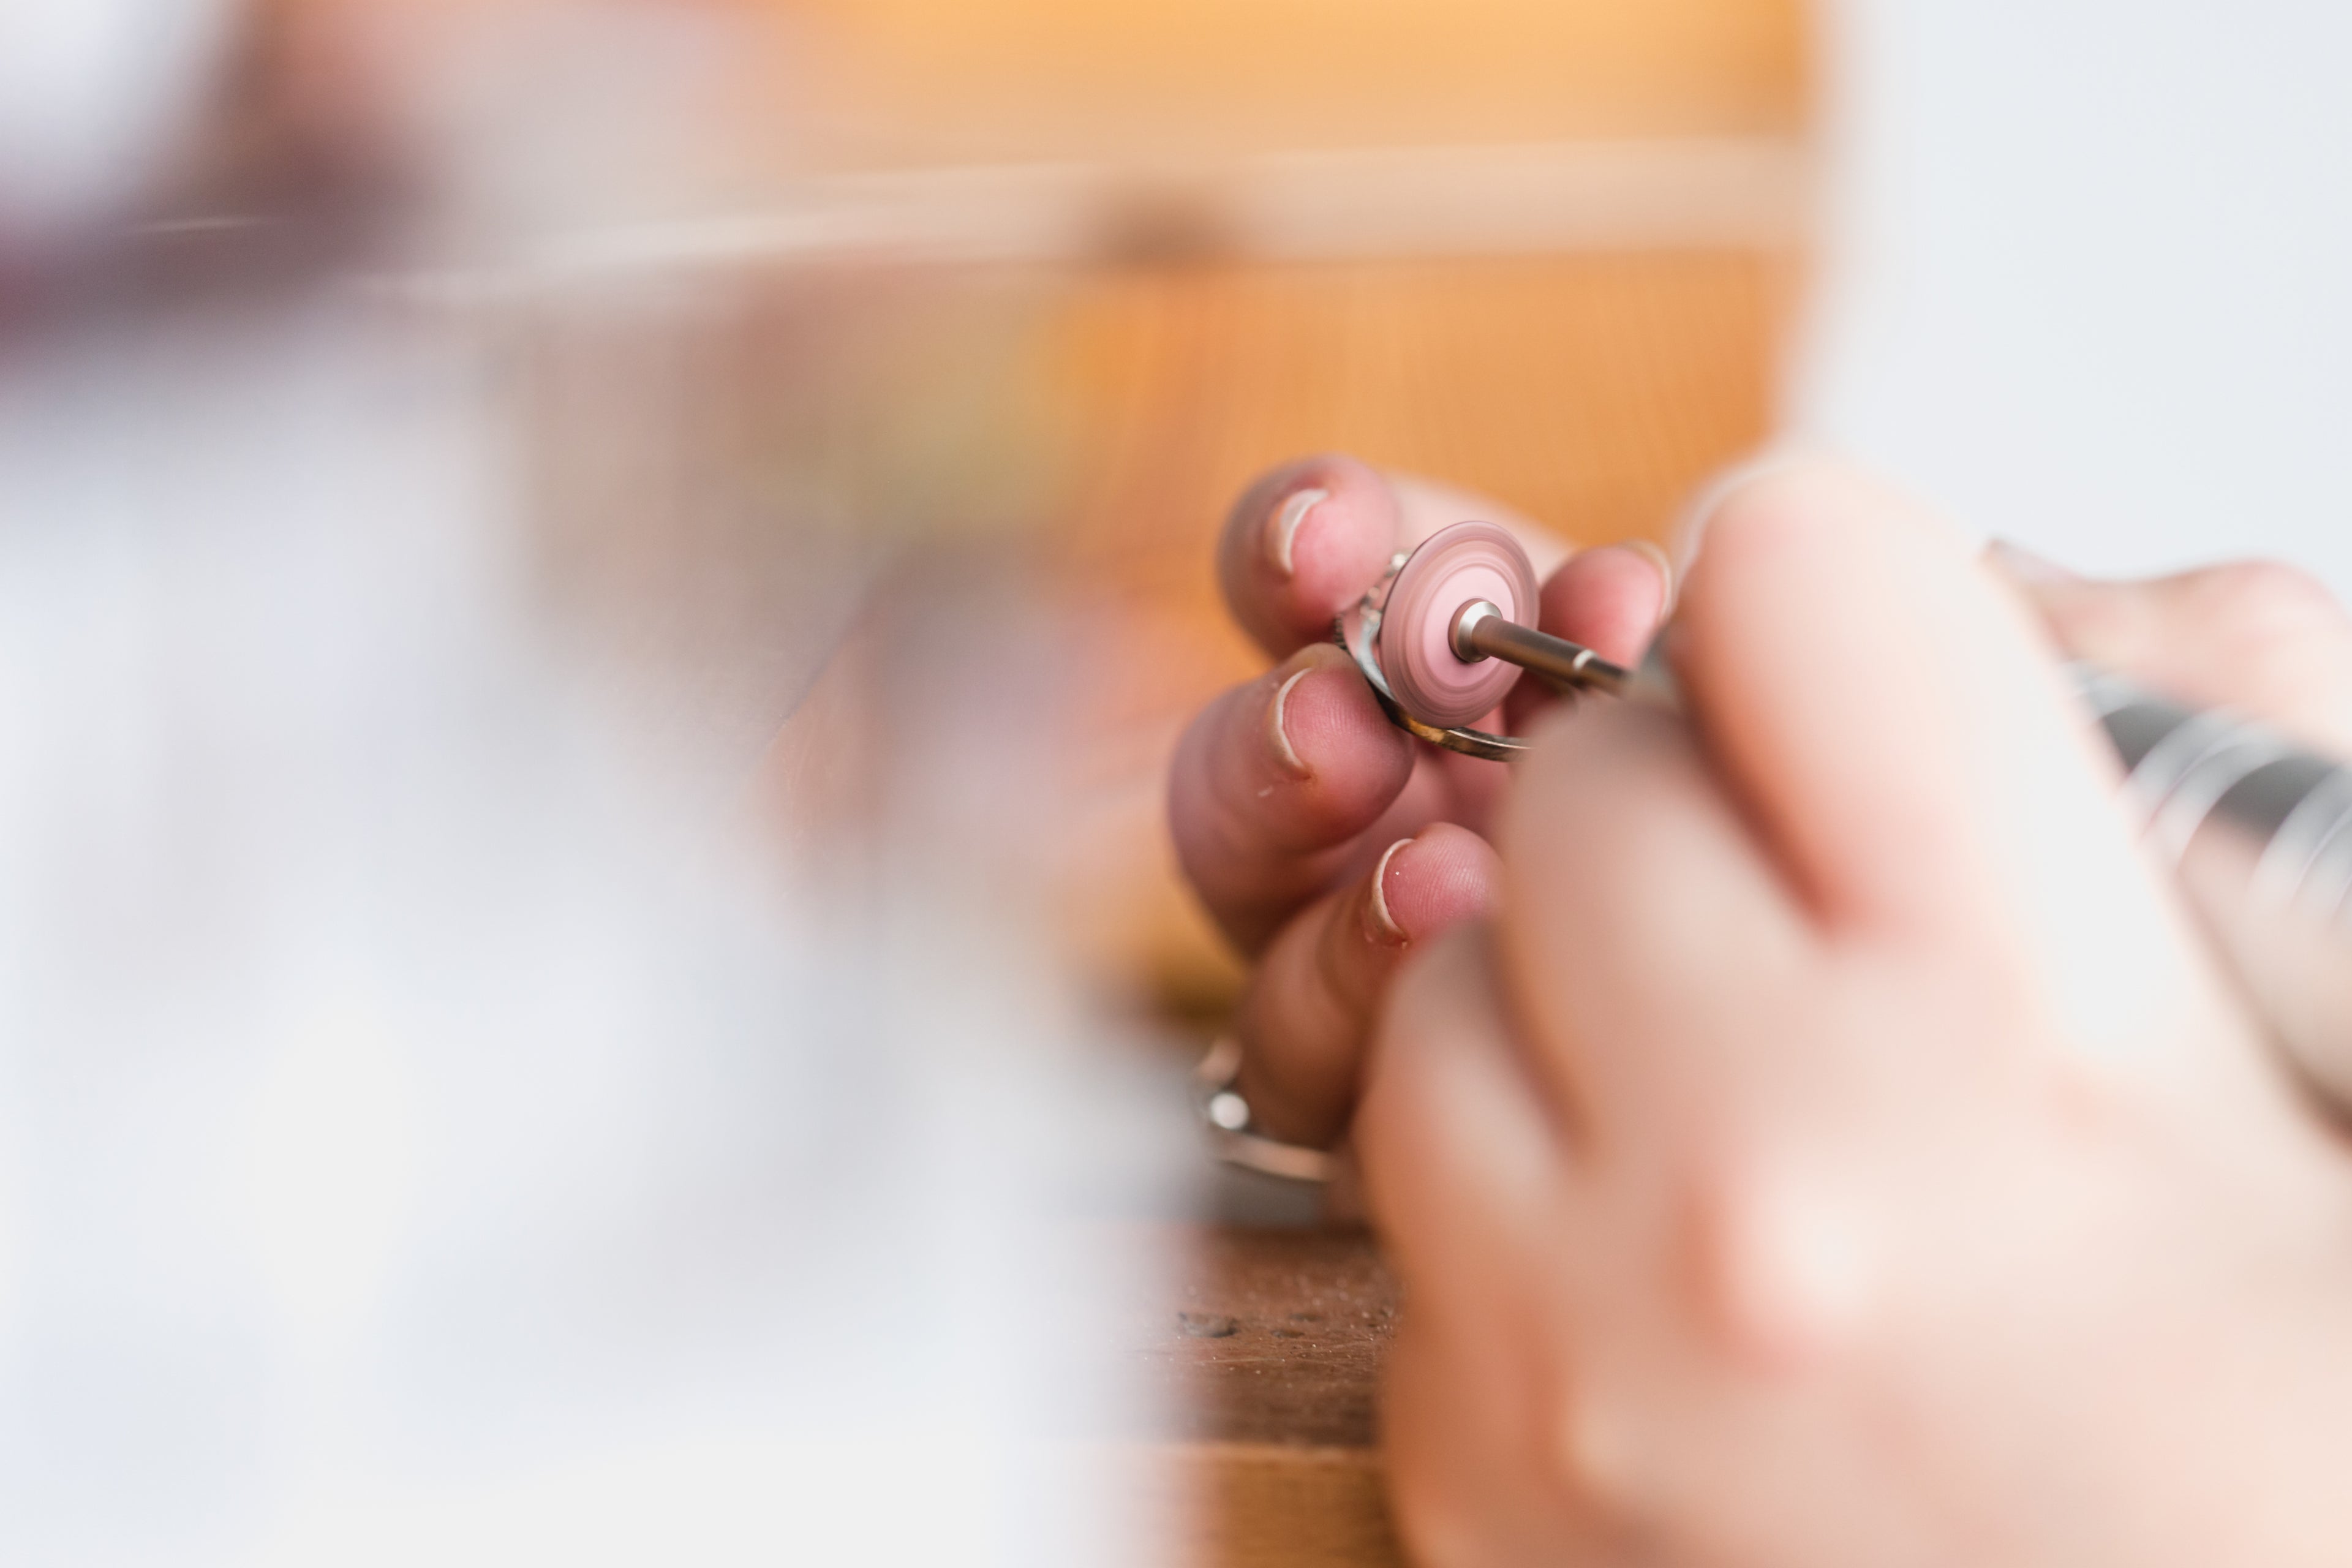
FlexShaft & Compounds
Polishing is the final reveal. Buffing wheels spin at high speed, charged with compounds like rouge and tripoli to smooth and shine the surface. This is where the metal stops looking “worked” and starts looking finished. It’s also where most of the physical risk lives—more on that below.


2. Traditional Techniques That Still Matter
Hand skills are the soul of the work. Even with all our modern tools, I still rely on:
- Fabrication: Cutting, forming, soldering, and fitting metal by hand.
- Stone Cutting: Faceting and polishing gemstones is best done by a human who can bring out the beauty in a stone.
- Stone Setting: Whether bezel, prong, flush, or pavé, this is where patience meets precision. One slip can crack a stone or mar a setting.
- Surface Finishing: From high polish to satin, brushed, hammered, or textured—this last layer defines the piece’s character.
These techniques are centuries old. They still work, because nothing replaces the human hand when it comes to nuance and intention.
3. Enter the 21st Century: Technology Joins the Bench
CAD Software
Computer-aided design allows me to model a piece in 3D before it exists physically. I use it to test proportions, fit, and style—especially useful when collaborating with clients during virtual consultations. It brings clarity to the early stages of the design process and lets people see what we’re planning in real time.

3D Printing & Wax Prototypes
Once a design is approved, I 3D print a wax model that can be cast in metal using the traditional lost-wax process. This hybrid of new and old lets me create complex shapes with perfect symmetry—things that would be nearly impossible to carve by hand. I use a specialized blue resin for this casting process, but we use a separate printing material to create fitting models for clients to try on.

Sketchbooks & Digital Stencils
Some ideas still begin with pencil and paper (or stylus and tablet). Sketching is faster and more fluid when you’re dreaming. CAD is where you engineer. I use both.


Virtual Consultations
I meet with clients all over the country via Zoom or video chat. We look at design options together, review renders, and refine details. This accessibility has opened the door for more people to be part of the design journey—no matter where they live.
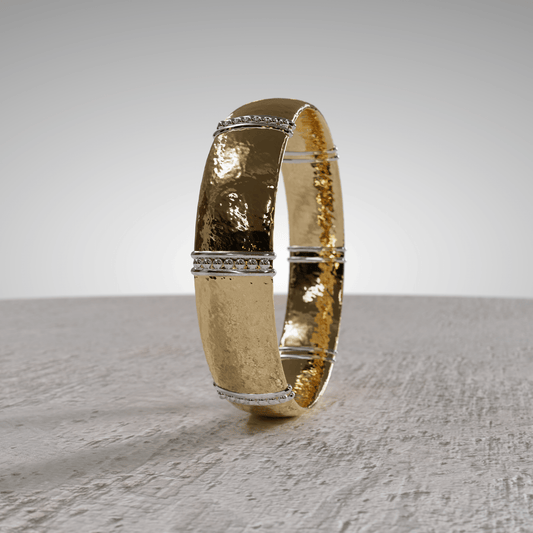
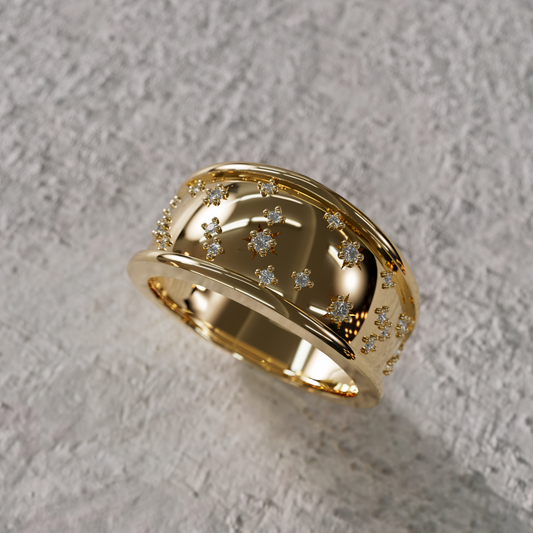
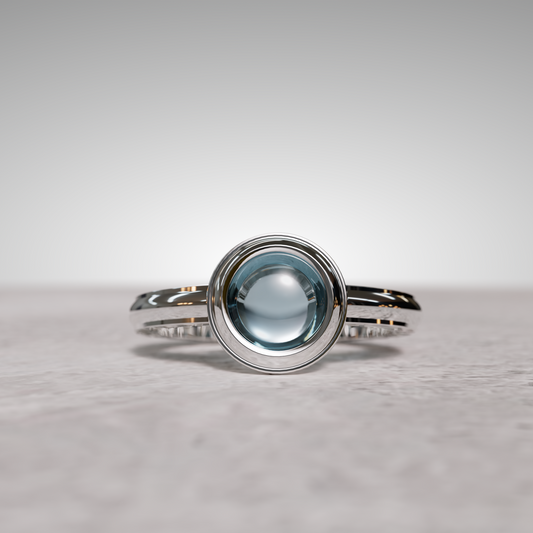
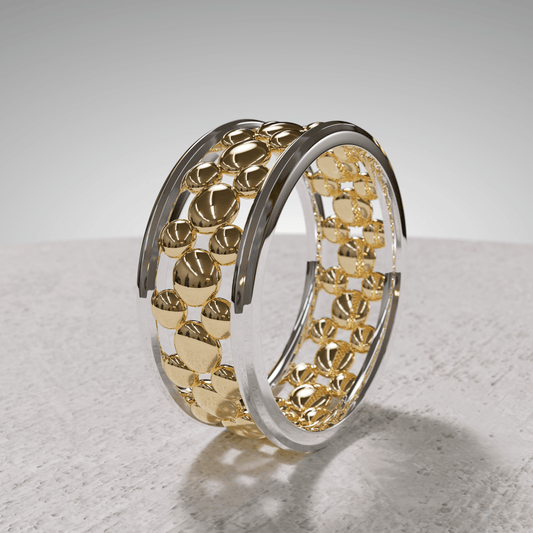
Explore jewelry by the designer who wrote this article
These designs are part of the philosophy explored in this post.
-
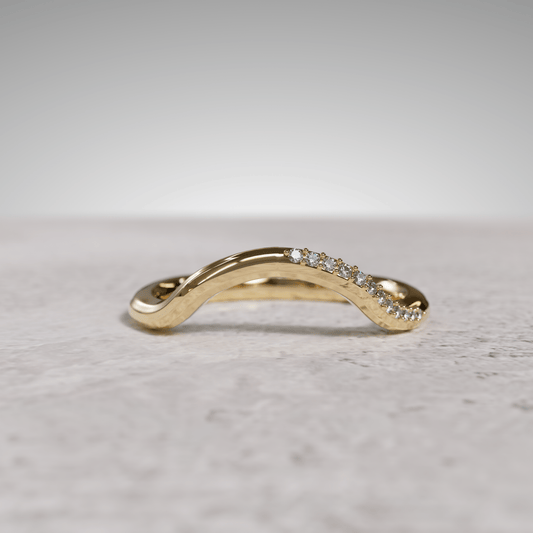
Venture Band
Regular price From $3,208 USDRegular priceUnit price per -
Stillpoint Earrings
Regular price From $5,248 USDRegular priceUnit price per -
Constellation Earrings
Regular price From $6,752 USDRegular priceUnit price per


-
Arc Earrings
Regular price From $10,950 USDRegular priceUnit price per -
Occasions Band – Narrow
Regular price $2,820 USDRegular priceUnit price per -
18k Constellation Pendant
Regular price From $5,827 USDRegular priceUnit price per -
Constellation Cuff Bracelet
Regular price $46,025 USDRegular priceUnit price per -
Threshold Cuff
Regular price $49,950 USDRegular priceUnit price per -
Constellation Ring
Regular price $8,859 USDRegular priceUnit price per -
Venture Ring
Regular price From $3,928 USDRegular priceUnit price per -
Stillpoint Pendant
Regular price From $3,950 USDRegular priceUnit price per -
Two Paths Ear Cuff and Drop Earring Set
Regular price $8,590 USDRegular priceUnit price per -
Reversible Visionary Locket
Regular price From $19,887 USDRegular priceUnit price per -
Reversible Safe Passage Pendant
Regular price From $24,832 USDRegular priceUnit price per -
Resilience Band
Regular price From $6,150 USDRegular priceUnit price per -
Reflection Ring
Regular price $4,983 USDRegular priceUnit price per -
Pathfinder Stud Earrings
Regular price $2,950 USDRegular priceUnit price per -
Pathfinder Pendant
Regular price From $4,125 USDRegular priceUnit price per -
Pathfinder Drop Earrings
Regular price $3,715 USDRegular priceUnit price per -
Open Journey Band
Regular price $4,682 USDRegular priceUnit price per -
Odyssey Ring
Regular price $6,121 USDRegular priceUnit price per -
Destiny Pendant
Regular price $11,350 USDRegular priceUnit price per -
Homecoming Bangle Bracelet
Regular price $18,590 USDRegular priceUnit price per -
Moments Band
Regular price $5,263 USDRegular priceUnit price per -
Mirror Studs
Regular price $5,522 USDRegular priceUnit price per -
Mirror Pendant
Regular price From $4,440 USDRegular priceUnit price per -
Looking Glass Ring
Regular price From $4,620 USDRegular priceUnit price per


4. The Not-So-Glittery Side: Safety Behind the Scenes
From the outside, a jewelry studio might seem cozy and artistic. But it’s also a place of real risk: open flames, fine particles, toxic chemicals, and high-speed tools. This is not a hobbyist’s craft. It’s a professional discipline that requires training, vigilance, and a healthy respect for the materials involved.
Respiratory Risks
Polishing releases micro-particles of metal and compound into the air. Buffing wheels fling dust everywhere—and without proper ventilation, that dust ends up in your lungs. I wear a full respirator when polishing and use active ventilation systems at the bench.
My father, who has cut stones for decades, lives with silicosis—a permanent lung condition caused by inhaling fine mineral dust. It’s more common in the industry than many realize.

Chemical Hazards
SLA Resin Printing: The resin used for 3D printing is a volatile compound that requires gloves, eye protection, and fume control.

Cleaning Solutions & Acids: I use specialized solvents to clean jewelry that sometimes arrives... let’s say well loved. The solutions work—but they’re not skin safe, and proper handling is essential.
Heavy Metals: The industry is getting much better about regulation, but as a jeweler who specializes in heirloom pieces, I still have to be careful about alloy contamination. When we heat these metals to molten, the fumes can be toxic and carcinogenic.
Protective Procedures and Equipment
- Tying long hair back when working
- No loose clothing or open shoes in the workshop. Cotton clothing and natural, fire-safer fibers are preferred.
- Chemical safety measures, both for ourselves and for the environment
- Goggles for soldering and sawing
- Respirators during polishing and casting
- Heavy-duty gloves, aprons, and fume hoods
Even with all this, there’s no such thing as zero risk. But I take every precaution seriously.
5. Why This Matters
Clients often see the final result—a finished ring, a shining pendant—but not the dozens of tiny steps that go into its creation. Understanding the process builds appreciation, not just for the piece, but for the work behind it.
It’s not mass-produced. It’s not automated. It’s not risk-free.
It’s personal. Professional. And made with full awareness of what it takes to create it.
6. Why Choose Stradley & Daughter
When you work with me, you’re not just getting a piece of jewelry—you’re collaborating with someone who knows what it takes to bring a design to life, start to finish.
I design, model, print, cast, set, and polish many of the pieces myself. The rest are finished by the incredibly talented craftspeople and artisans who work for me-- men and women with decades of knowledge and experience in their specialties. We know the tools, the safety protocols, and the materials inside and out—and that’s what allows us to deliver both beauty and integrity.
“I loved seeing the behind-the-scenes of my custom ring—I got to see everything from the 3D render to the final polish. It made me feel like I was part of the process.” – Cara, Custom Design Client
Want help choosing the right piece?
If you’re marking a milestone—or translating a feeling into something you can wear—we’d love to help you design the right piece.
BOOK A CONSULTATIONJewelry Isn’t Made. It’s Built.
From the first sketch to the final polish, every custom piece is the result of hundreds of tiny decisions. Every hammer blow, every buffed edge, every keystroke in CAD is a layer in the story.
And behind it all: a bench, a torch, a computer, and a jeweler who believes in both precision and poetry.
Curious how your own piece might come to life?
Book a consultation and step behind the bench with us.
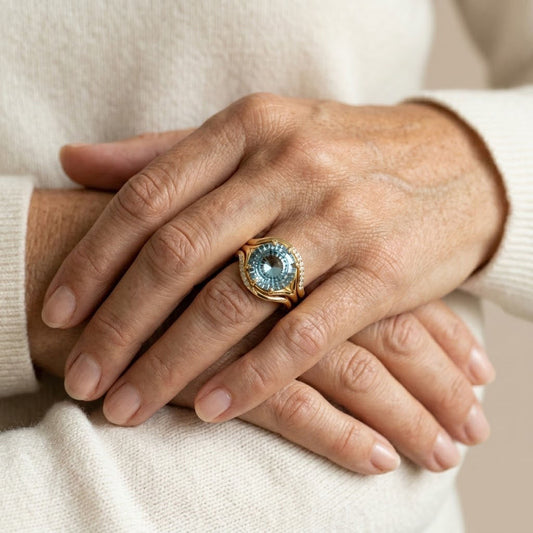
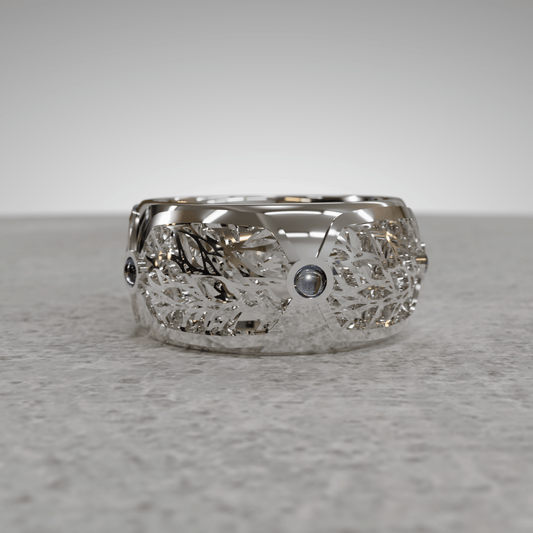
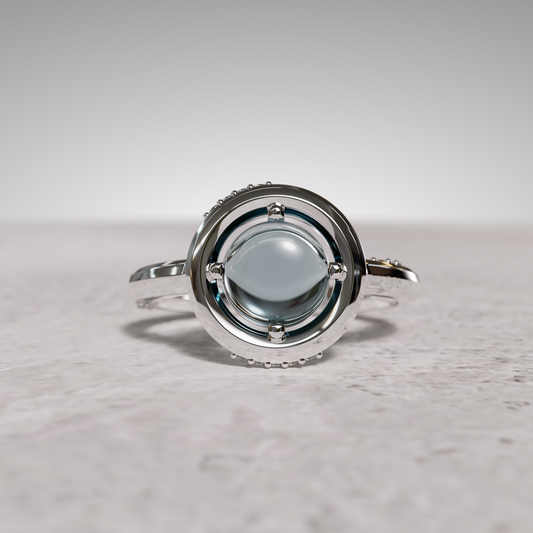
Discover jewelry inspired by your story
-
Venture Band
Regular price From $3,208 USDRegular priceUnit price per -
Stillpoint Earrings
Regular price From $5,248 USDRegular priceUnit price per -
Constellation Earrings
Regular price From $6,752 USDRegular priceUnit price per -
Interwoven Pathways Earrings
Regular price $5,363 USDRegular priceUnit price per


-
Arc Earrings
Regular price From $10,950 USDRegular priceUnit price per -
Occasions Band – Narrow
Regular price $2,820 USDRegular priceUnit price per -
18k Constellation Pendant
Regular price From $5,827 USDRegular priceUnit price per -
Constellation Cuff Bracelet
Regular price $46,025 USDRegular priceUnit price per -
Threshold Cuff
Regular price $49,950 USDRegular priceUnit price per -
Constellation Ring
Regular price $8,859 USDRegular priceUnit price per -
Venture Ring
Regular price From $3,928 USDRegular priceUnit price per -
Stillpoint Pendant
Regular price From $3,950 USDRegular priceUnit price per -
Two Paths Ear Cuff and Drop Earring Set
Regular price $8,590 USDRegular priceUnit price per -
Reversible Visionary Locket
Regular price From $19,887 USDRegular priceUnit price per -
Reversible Safe Passage Pendant
Regular price From $24,832 USDRegular priceUnit price per -
Resilience Band
Regular price From $6,150 USDRegular priceUnit price per -
Reflection Ring
Regular price $4,983 USDRegular priceUnit price per -
Pathfinder Stud Earrings
Regular price $2,950 USDRegular priceUnit price per -
Pathfinder Pendant
Regular price From $4,125 USDRegular priceUnit price per -
Pathfinder Drop Earrings
Regular price $3,715 USDRegular priceUnit price per -
Open Journey Band
Regular price $4,682 USDRegular priceUnit price per -
Odyssey Ring
Regular price $6,121 USDRegular priceUnit price per -
Destiny Pendant
Regular price $11,350 USDRegular priceUnit price per -
Homecoming Bangle Bracelet
Regular price $18,590 USDRegular priceUnit price per -
Moments Band
Regular price $5,263 USDRegular priceUnit price per -
Mirror Studs
Regular price $5,522 USDRegular priceUnit price per -
Mirror Pendant
Regular price From $4,440 USDRegular priceUnit price per -
Looking Glass Ring
Regular price From $4,620 USDRegular priceUnit price per